Teach Yourself Visually Quilting
by
Teach Yourself Visually Quilting
by
 Fundamentals of Freehand Longarm Quilting
by
Fundamentals of Freehand Longarm Quilting
by
 The Improv Handbook for Modern Quilters
by
The Improv Handbook for Modern Quilters
by
 Unconventional & Unexpected: American Quilts below the Radar 1950-2000
by
Unconventional & Unexpected: American Quilts below the Radar 1950-2000
by
 Scrap Happy Quilting
by
Scrap Happy Quilting
by
 Stack, Slash and Sash
by
Stack, Slash and Sash
by
 Quilts! Quilts!! Quilts!!!
by
Quilts! Quilts!! Quilts!!!
by
 Kaffe Fassett's Bold Blooms
by
Kaffe Fassett's Bold Blooms
by
Some of you may want to participate in the Quilting COVID project, but are unsure where to start or what to put in a block. We have plenty of resources on our webpage that include links and tutorials for different fiber art techniques. But, if you’d like to see some examples of how an idea became a square… look no further!
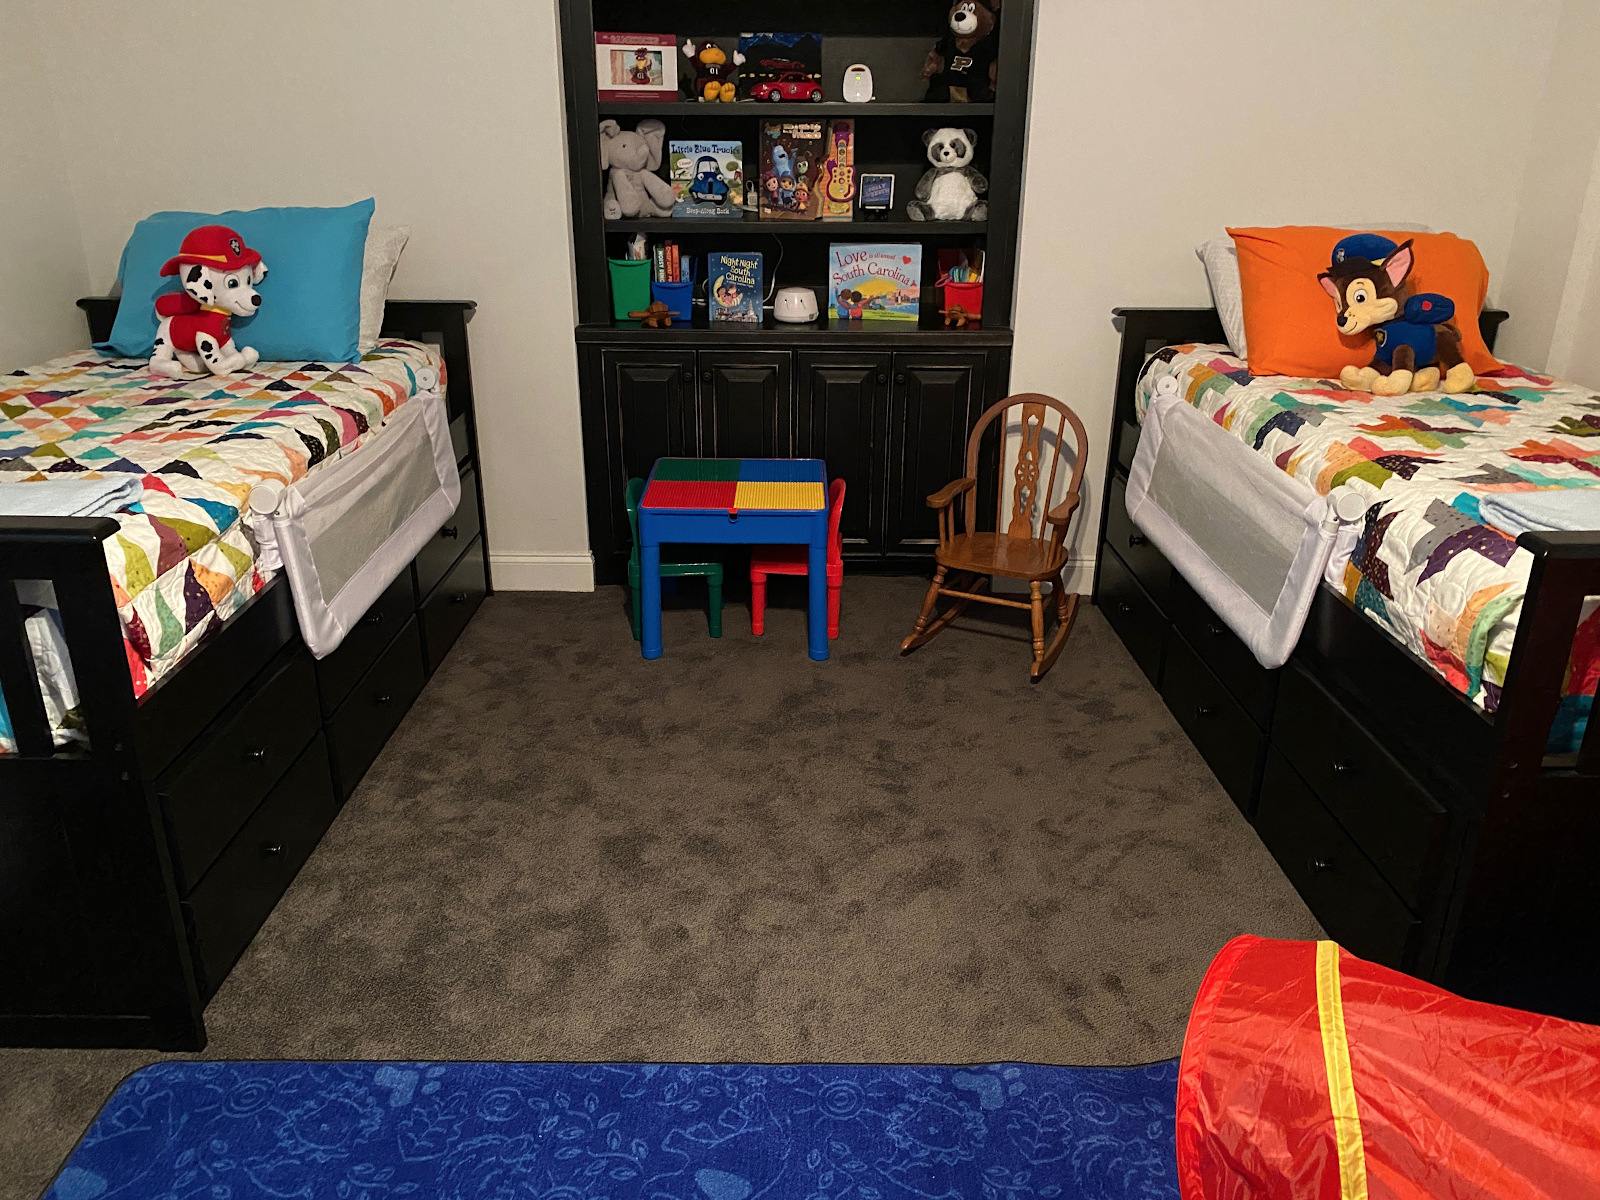
For those of you who don’t know me, I am a quilter. This means I take small pieces of fabric and stitch them together in geometric patterns. But it doesn’t end there--I take the top, assemble a sandwich with it, fluffy batting, and a giant piece of fabric for the back… and stitch a decorative design on top. Sometimes, I even create my own pattern for the top. My most recent and biggest undertaking was to make two quilts for the beds in my nephews’ bedroom when they stay with my in-laws. An example of one of the quilts is shown below:
Quilt Designer: V and Co. Fabric: Ombre Confetti by V and Co/Moda. Photo credit: Nancy and Tom Kotti.
I made my first quilt at 14, took a brief hiatus, picked the practice back up during my Junior year of college and haven’t looked back. It’s why I decided to start this project. But, during COVID-19 something strange happened: I completely lost any desire to quilt. I have several theories for why this is the case, one of which is that my quilting room is on the 3rd floor and I get lonely up there, but I’m not the only person that this has happened. With the pandemic, concerns about health and safety, and the latest incidents of racist police brutality, some of us just haven’t been able to bring ourselves to carry on with hobbies.
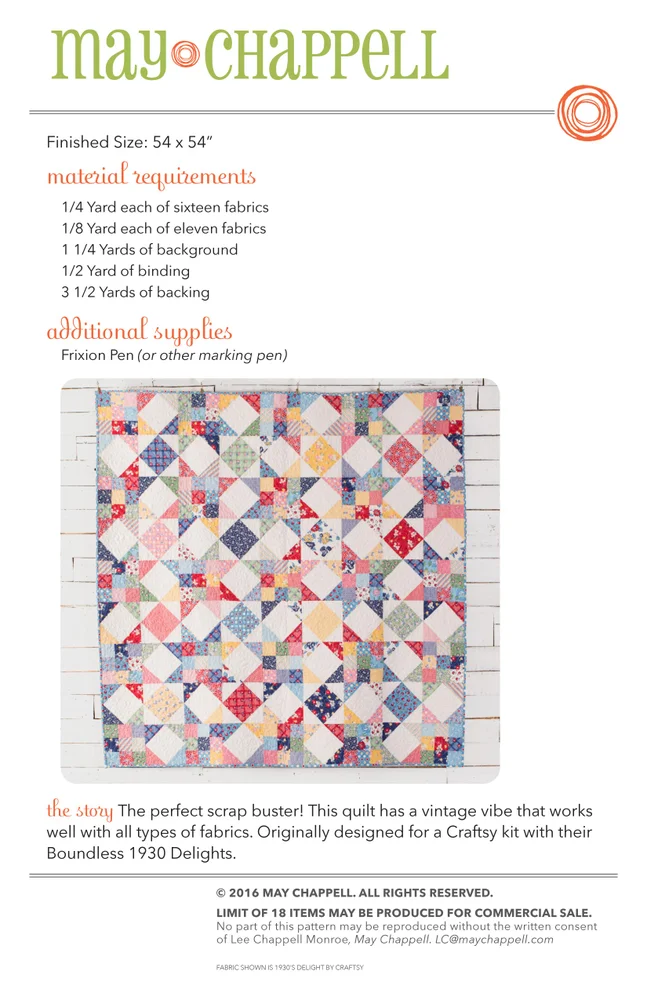
That doesn’t mean I didn’t try. I had every intention of making a Pandemic Quilt. Back in March, I decided to make a quilt to commemorate my time. I picked a pattern from my dear friend Lee Monroe of May Chappel Designs, Scrappy Star, shown below.
This photo of Scrappy Star is featured on the May Chappell pattern, which I purchased. This version was made with MOda’s Boundless 1930s Delights and was designed for a Craftsy Kit.
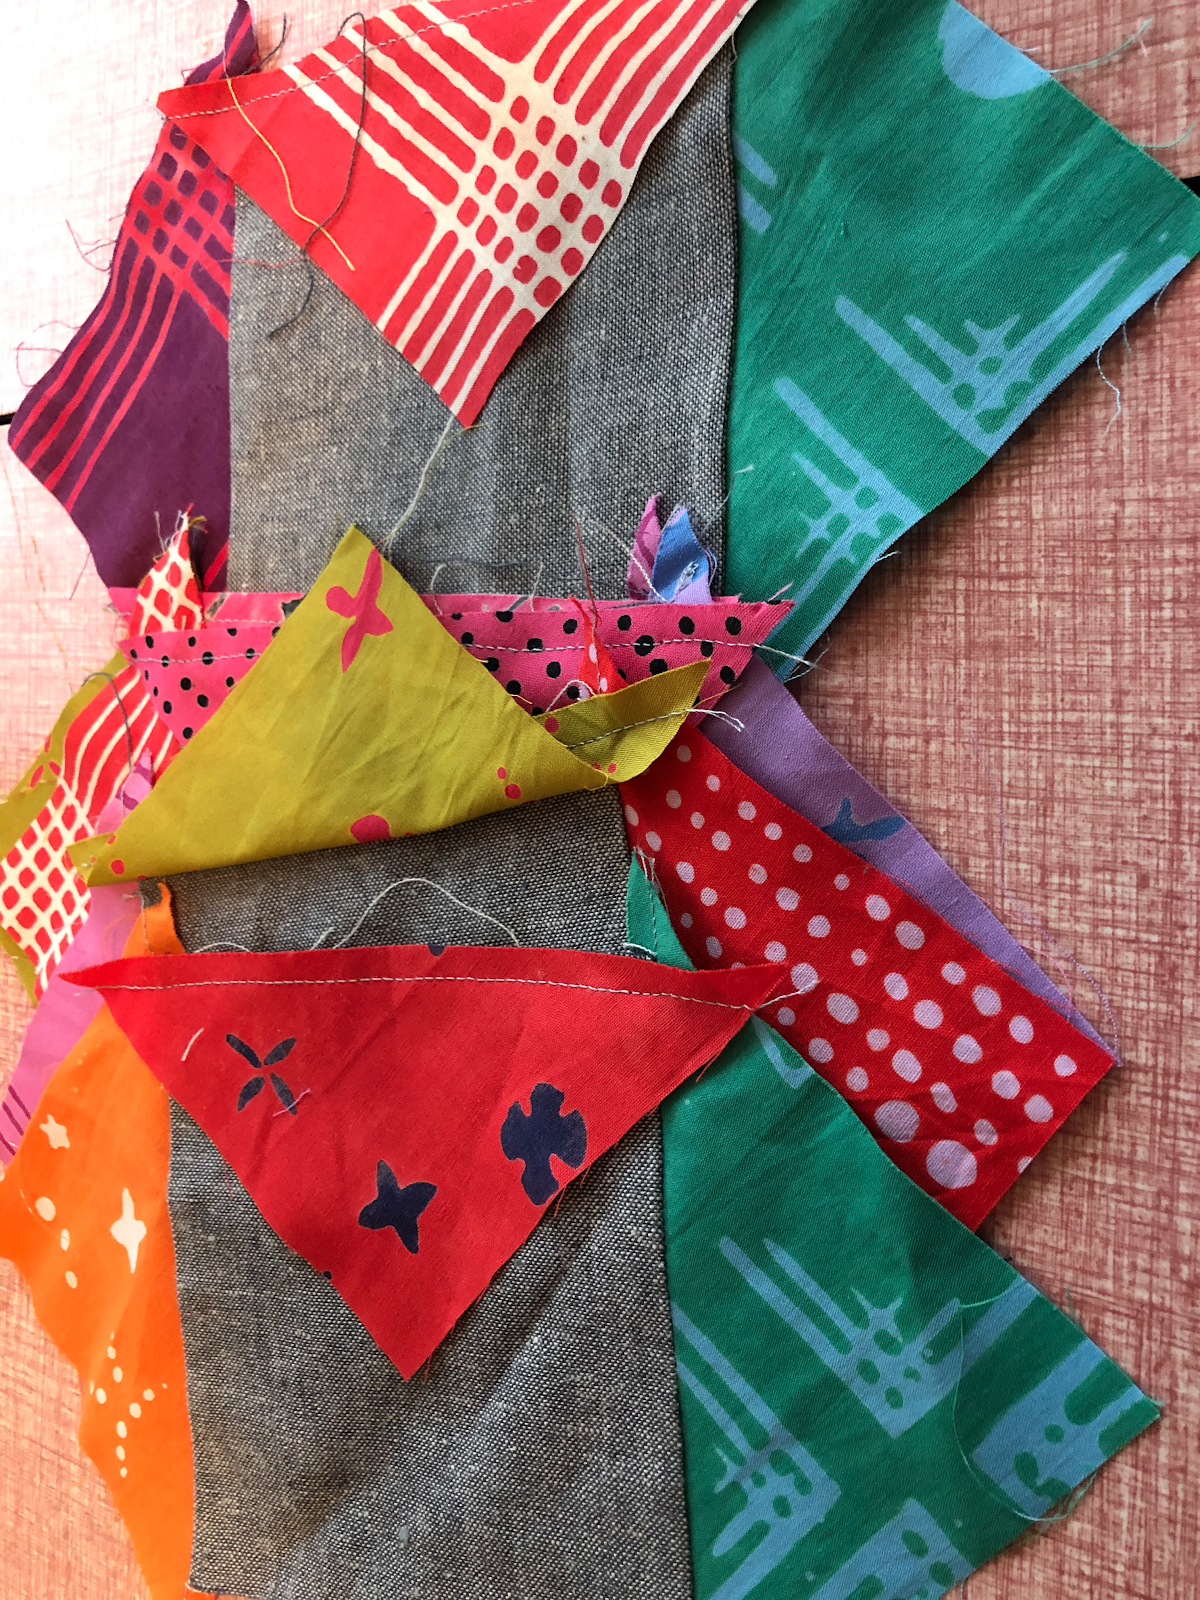
I decided to create a Scrappy Star using some Allison Glass batik scraps I picked up at a Pineapple Fabrics sale a few years ago, with the contrast being a beautiful gray Essex Linen. I got as far as making the blocks that had the grey linen in the center and the colorful batiks on the edges (well, I got 75% of the way there, most blocks are still missing a corner).
I know, I know. THat’s a lot to NOT get done in a quilt in 4 months. But I digress. To me, my lack of progress on what should have been a relatively quick and straightforward quilt (my friend Bethany finished hers in a few weeks) represents how I felt for a good portion of this pandemic. So, I decided to create squares that used techniques other than quilting to honor the star motif in Lee’s Scrappy Star quilt. You can’t see it in my quilt pieces because you can’t see the stars until you sew all of the different pieces together.
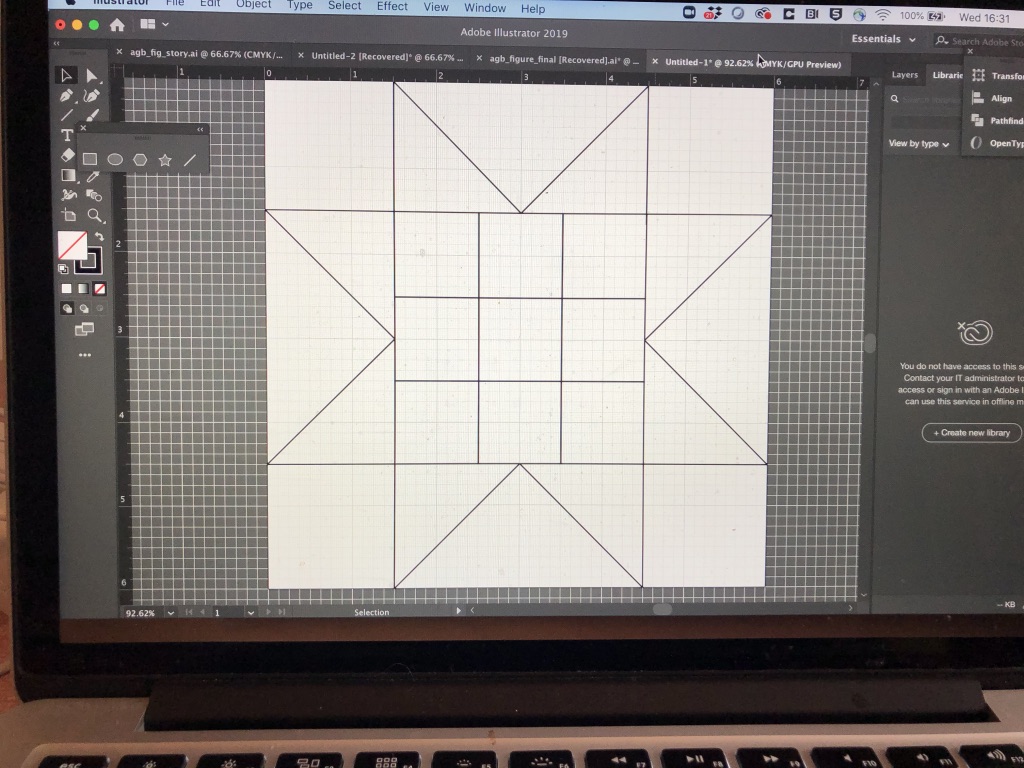
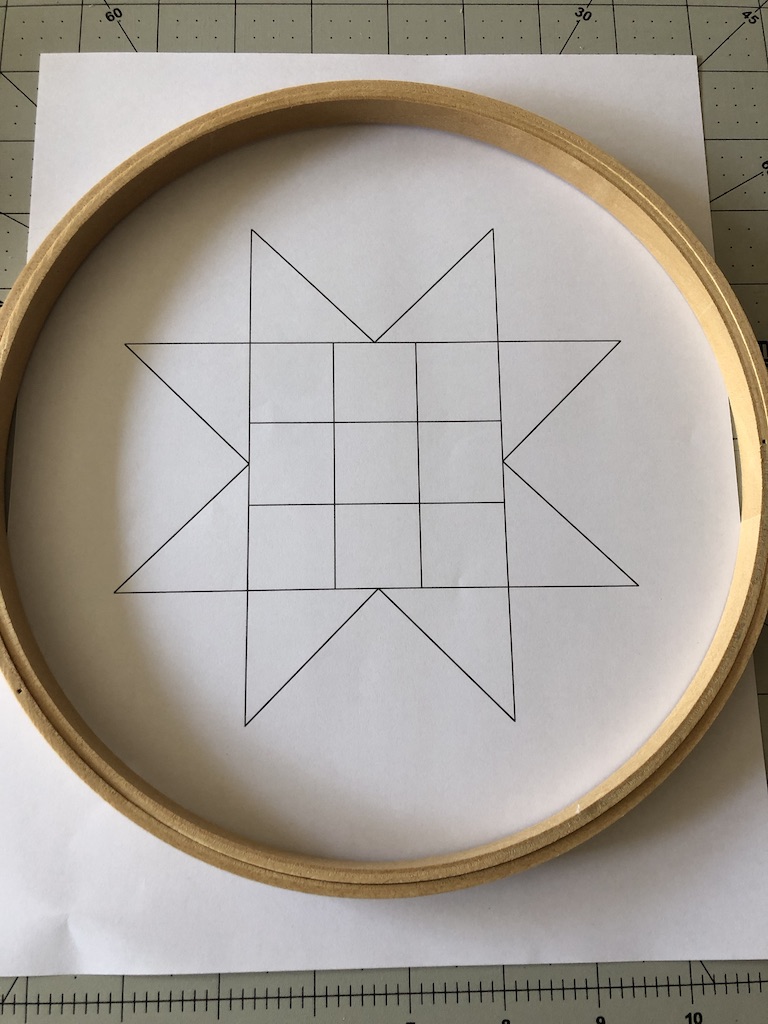
I started by making a tracing template of the star in Adobe Illustrator.
I printed it out, and made sure it fit within the embroidery hoop I would use to make my 6.5” square designs.
Check, it fits!
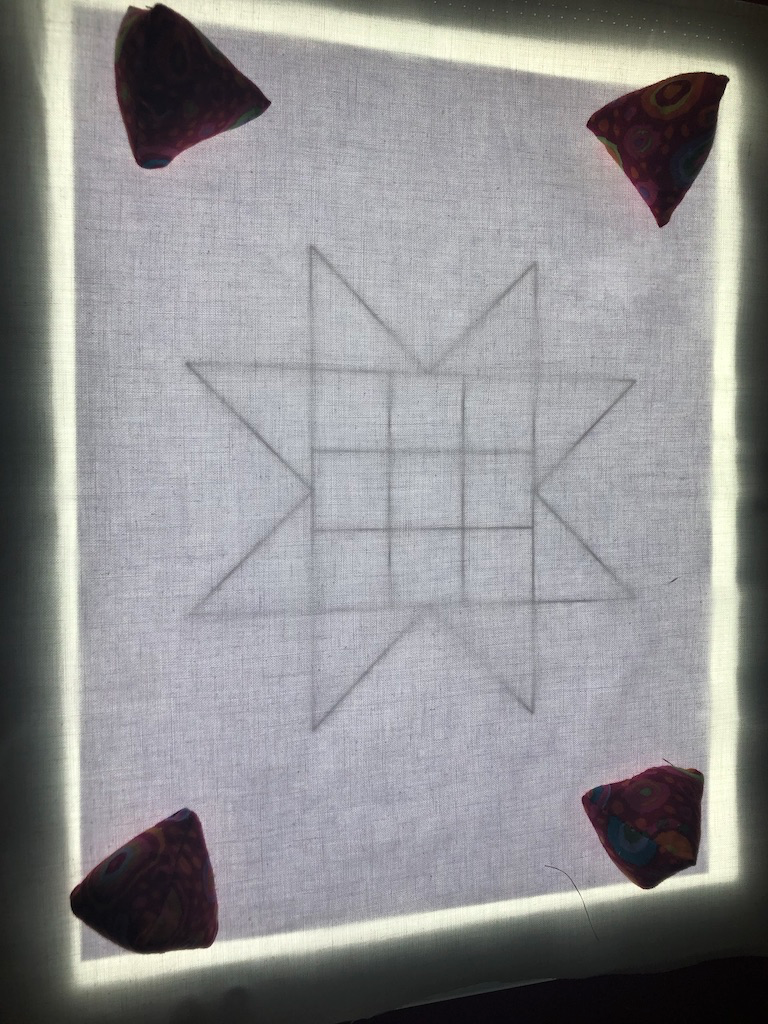
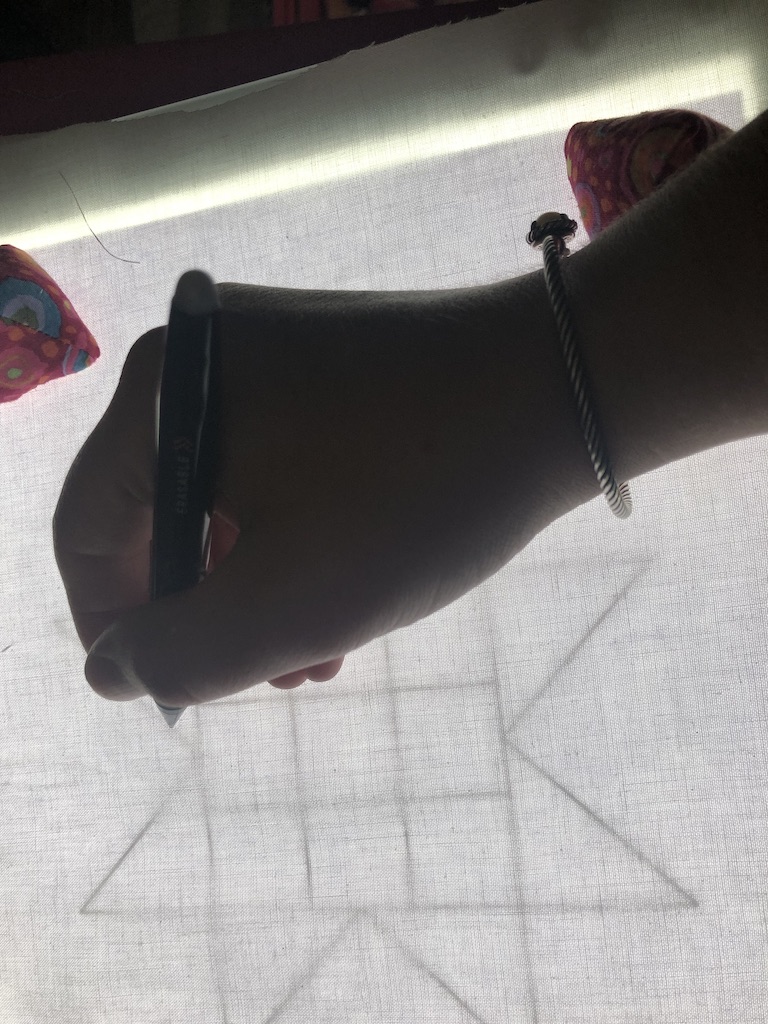
Then, I used my light pad to trace my design onto a piece of white fabric with a Frixion Pens. I like using Frixion pens because the mark goes away when you apply an iron.
If you don’t have a light pad (mine is the Cricut brand) and you want to trace a design onto your fabric, you can also tape the pattern onto a window, and then tape your fabric over it and trace. This has worked for many of my quilting friends. In addition to Frixion pens I’ve used pencils and chalk. Chalk rubs away, but it can be harder to get rid of pencil.
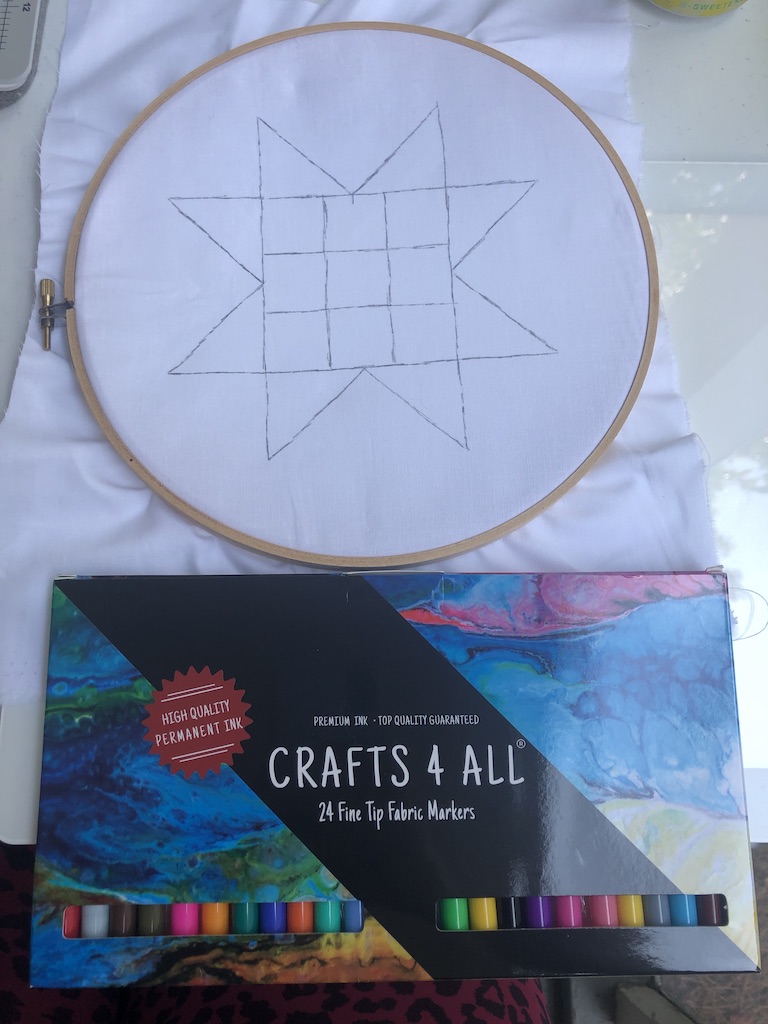
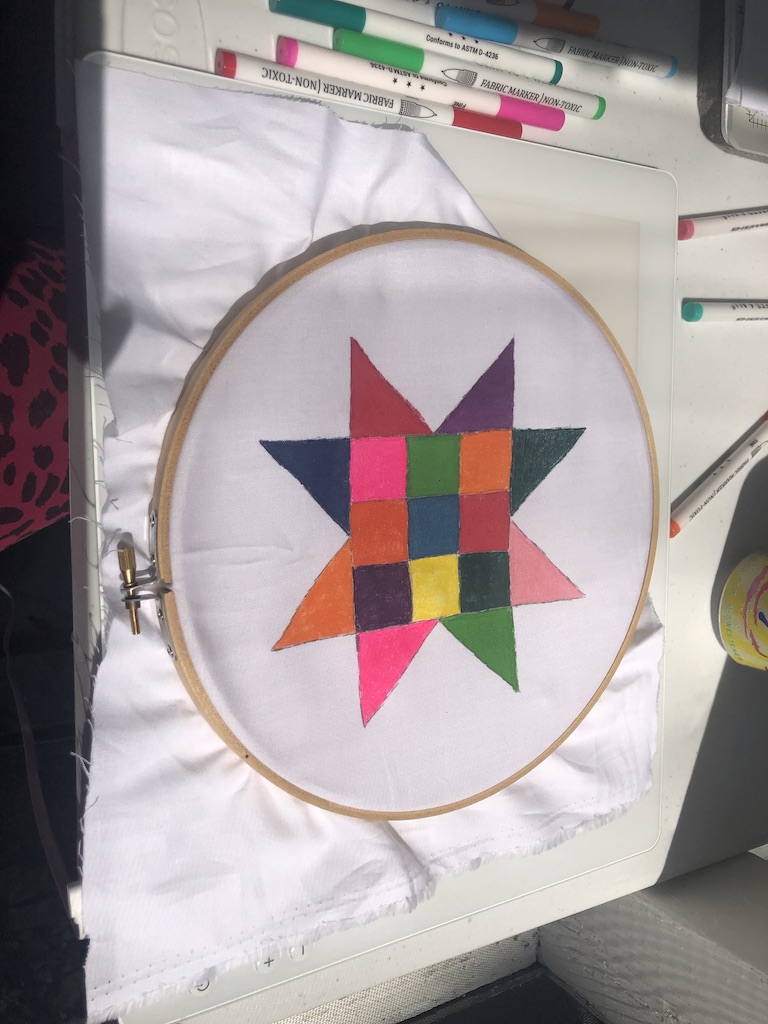
My first idea was to create a star pattern using fabric markers. You’ll notice that I’ve fastened my design into a hoop… that’s because the markers have a tendency to bleed through the fabric. Putting it in a hoop keeps the fabric elevated and off the table/pants, and it’s easier to grip.
Here is my completed fabric marker-colored star!
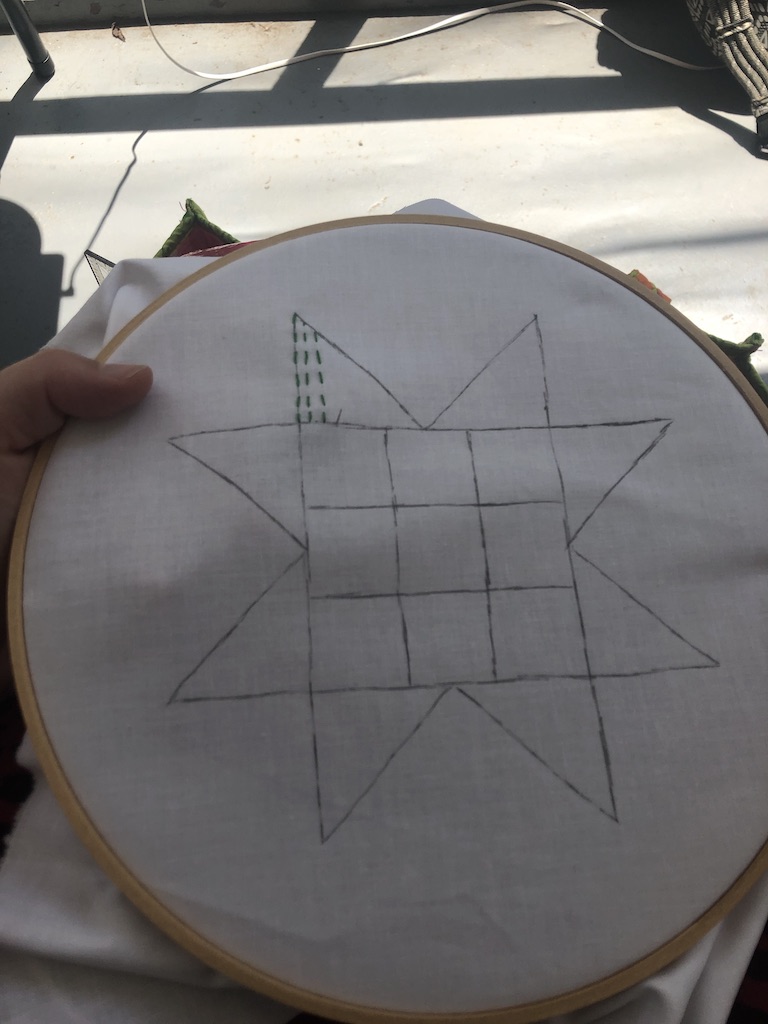
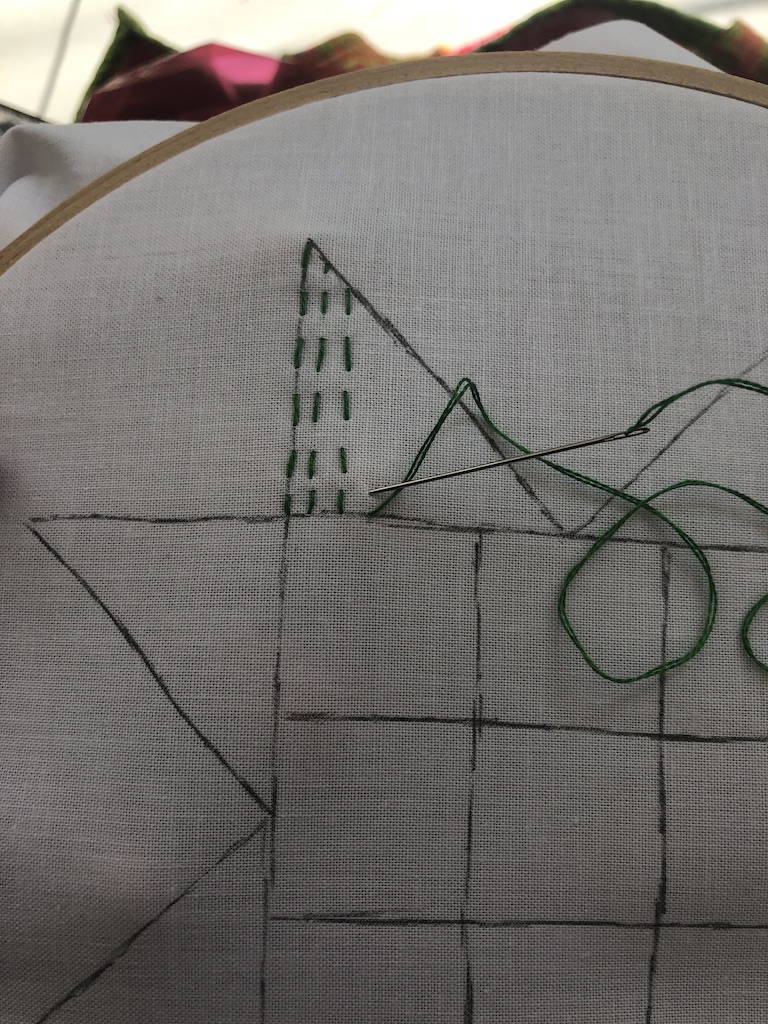
After my fabric marker, I decided to create a star with hand-sewing and embroidery techniques.. Specifically, I wanted to embroider but using only the running stitch.
In these two pictures, you can see how I pushed the needle up on one side, and then pushed the needle back down through the fabric ~¼” awy to make a simple line stitch.
I repeated this all over the star, in different colors and patterns, to create the pattern below:
And like that I was done!
If you’re looking for ideas, Meggie and I are happy to talk you through it. Maybe you can meet up with our #Crafternoons community during one of our events. We also can help with techniques, but recommend you check out our tutorial page, too.
We can’t wait to see what you create!
Davidson College Library Research Guides are licensed under
CC BY-SA 4.0.
![]()
![]()
![]()
Mailing Address: Davidson College - E.H. Little Library, 209 Ridge Road, Box 5000, Davidson, NC 28035